Warning: Undefined property: WP_Error::$cat_name in /www/wwwroot/www.af520.com/wp-content/themes/zibll/inc/functions/zib-category.php on line 125

共1篇
分类
排序
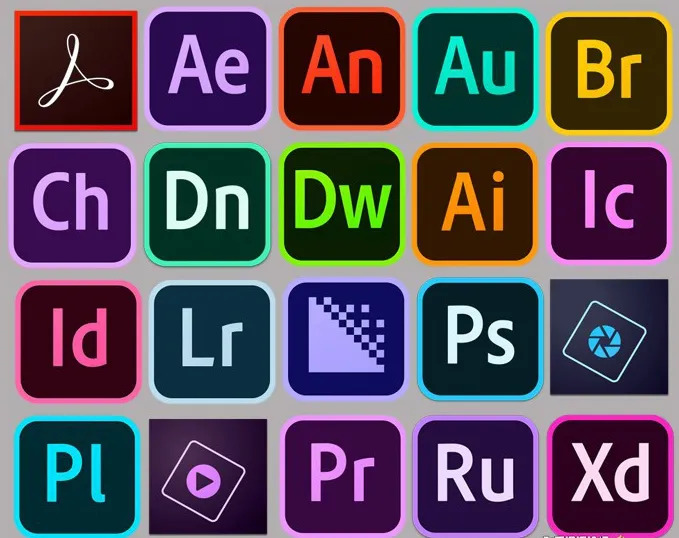
Adobe全家桶Win系统 17~21年版本下载(文件总共87G)

前言 公司英文全称:Adobe Systems Incorporated,是一家美国跨国计算机软件公司,总部位于加利福尼亚州圣何塞。 介绍 Adobe系列软件已广泛应用于各个设计行业,其便携性和强大的功能让我们爱不...